
A red light panel becomes more useful when the setup is simple enough to repeat. The goal is not to create a complicated home clinic. The goal is to place the panel safely, keep the session comfortable, and make the routine easy to repeat several times per week.
Key takeaways
- The goal is a simple, repeatable setup that places the panel safely and keeps each session comfortable several times per week.
- A common starting distance is roughly 6 to 12 inches, adjusted for warmth, coverage, and comfort – closer is not automatically better.
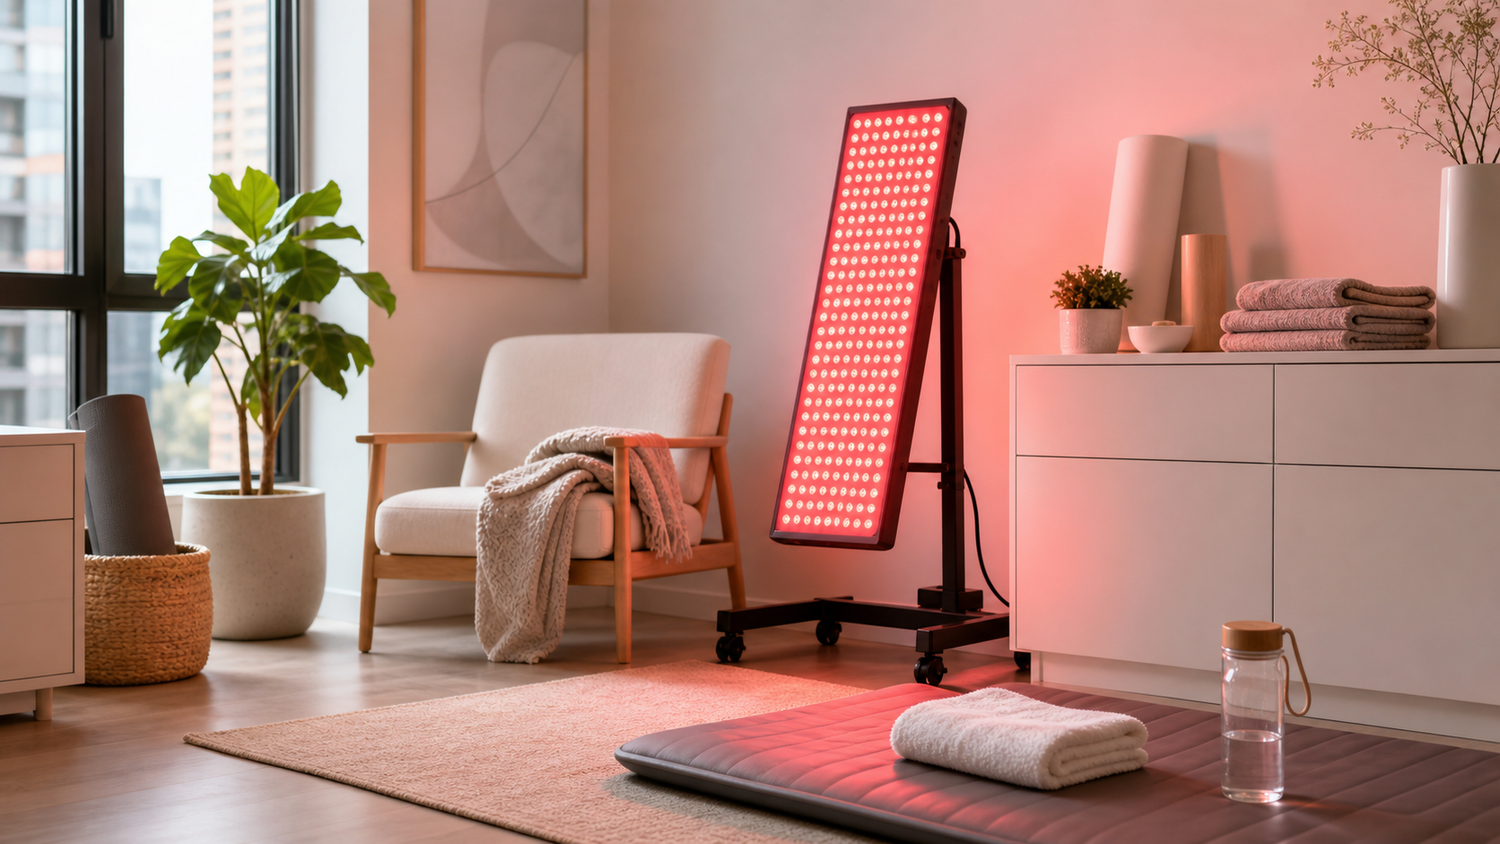
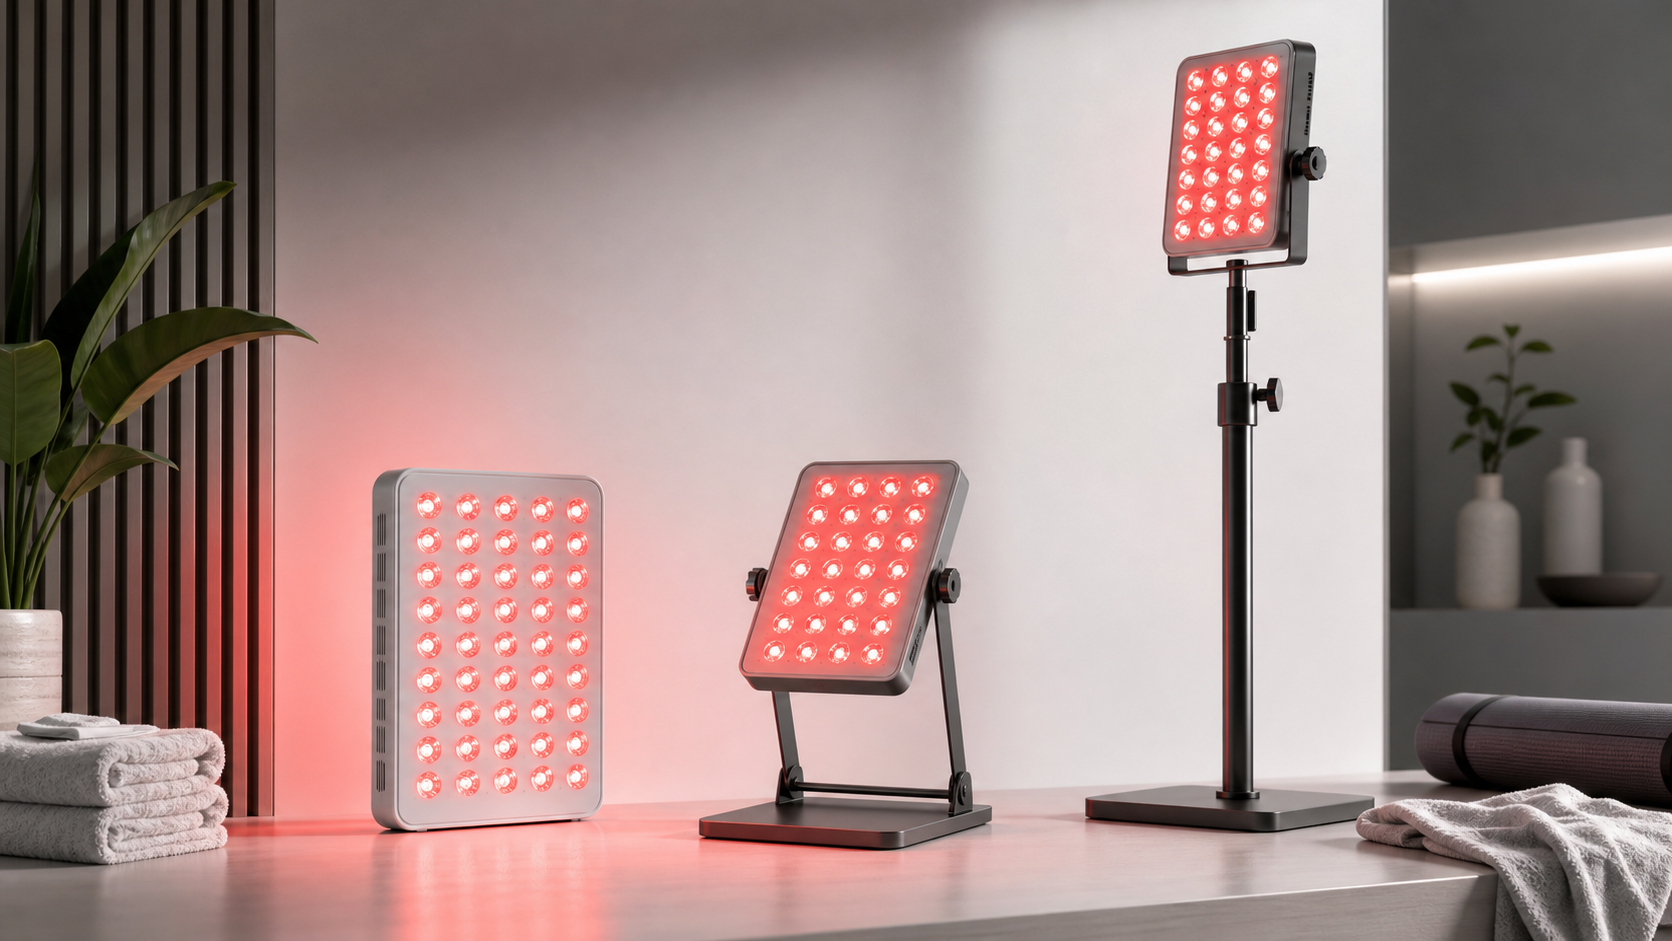
- Face routines work well on a stable tabletop or stand, while back and shoulder routines suit a floor stand or vertical setup.
- Use eye protection or avoid direct eye exposure, let the panel ventilate, and keep sessions comfortable and repeatable.
- Keeping the same chair, distance, and time of day makes the habit easier to maintain.
Start with distance and comfort
Most home users do best with a comfortable distance that lets the light cover the target area without feeling too intense. A common starting point is roughly 6 to 12 inches from the panel, then adjusting based on warmth, coverage, and comfort.
Closer is not automatically better. If the position makes you tense, overheated, or likely to quit early, move back. Consistency usually matters more than chasing maximum intensity.
- Keep sessions comfortable and repeatable.
- Use eye protection or avoid direct eye exposure near the face.
- Let the panel ventilate normally during use.
Face and skincare setup
For face-focused routines, place the panel on a stable tabletop or stand so the light reaches your face evenly. Remove makeup or heavy products first, sit comfortably, and avoid looking directly at the LEDs. Many users prefer short evening sessions after cleansing, or morning sessions before the day begins.
The best setup is usually boring in a good way: same chair, same distance, same time of day. That makes the habit easier to maintain.
Back and shoulder setup
Back and shoulder routines are easier with a floor stand or a stable vertical setup. Position the panel behind you, sit upright, and make sure your body is not twisting to stay in range. If you are targeting upper back and neck tension from desk work, a seated position often works well.
For lower back or hip-area sessions, adjust the height so the panel is centered on the area you want to cover.
Desk and work-from-home setup
A desk setup works best when the panel does not interrupt your posture. Place it off to the side or in front of you at a comfortable angle, then use a short session during a break rather than trying to work through the entire exposure.
Think of it like a reset ritual: stand up, hydrate, use the panel, then return to work. That keeps the routine intentional instead of passive.
Recovery setup after training
For post-workout routines, choose the area that worked hardest: quads after leg day, shoulders after pressing, back after pulling, or calves after running. Keep the position relaxed so the session feels like recovery, not another task.
You can pair a panel session with easy mobility, stretching, or quiet cooldown time, but avoid turning the routine into a long checklist.
Frequently asked questions
What distance should I set up a red light panel at home?
A common starting point is roughly 6 to 12 inches from the panel, then adjusting based on warmth, coverage, and comfort, since closer is not automatically better.
How should I set up the panel for face and skincare routines?
Place the panel on a stable tabletop or stand so the light reaches your face evenly, remove makeup or heavy products first, sit comfortably, and avoid looking directly at the LEDs.
What is the best setup for back and shoulder routines?
Back and shoulder routines are easier with a floor stand or stable vertical setup positioned behind you while you sit upright, adjusting the height so the panel is centered on the area you want to cover.
How do I set up a panel at a work-from-home desk?
Place it off to the side or in front of you at a comfortable angle so it does not interrupt your posture, and use a short session during a break rather than working through the entire exposure.
Where SOLRA fits
For a flexible home setup, choose the configuration that matches your most common position: tabletop for face and desk routines, floor stand for larger body areas. The SOLRA Red Light Panel is built around 660nm red light and 850nm near-infrared light, with setup options for panel-only use, tabletop placement, or a complete floor-stand kit.
Quick safety notes
Red light wellness routines should feel comfortable. Avoid staring directly into bright LEDs, follow your device instructions, and consult a qualified professional if you are pregnant, photosensitive, using light-sensitive medication, or managing a medical condition.
About this guide. Written and maintained by the SOLRA Team, who design and support the SOLRA Red Light Panel (660nm red + 850nm near-infrared light). Our guides focus on practical, comfort-first routines and use general wellness language rather than medical claims. Always follow your device instructions and consult a qualified professional about any medical condition. Editorial review: SOLRA Team · Updated June 2026.
Leave a comment
This site is protected by hCaptcha and the hCaptcha Privacy Policy and Terms of Service apply.